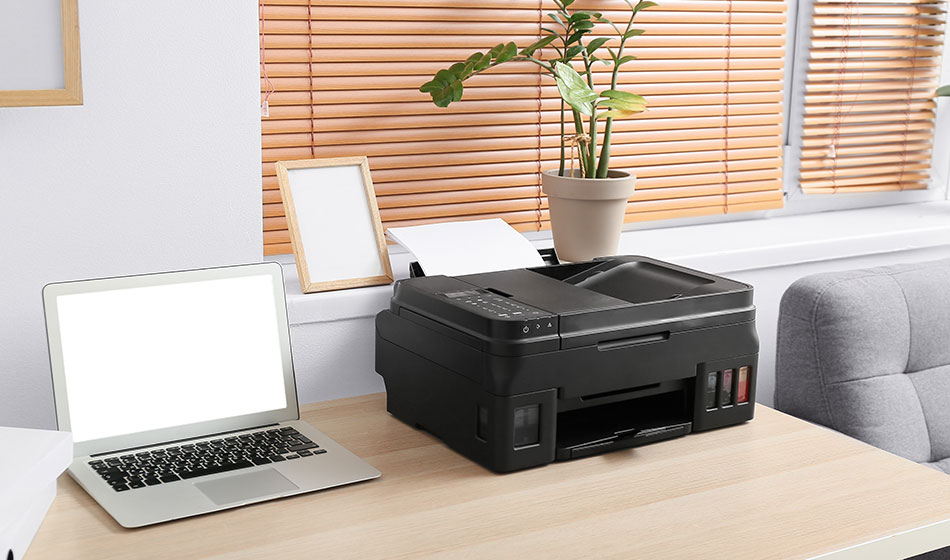
Have a printer handy? Wow, that is fantastic! Now you may relax about your child’s school or your office’s insistence that you print out certain documents at home. The new printer must be added to your Mac's printer list before it can be used. We will walk you through the steps here to add a printer to a Mac computer.
Adding a Printer to a Mac
Setting up a printer on a Mac might be a hassle. Unlike the AirPods, keyboard, and mouse that you routinely connect to your Mac, printers need special attention. Different manufacturers, connections (Wi-Fi, Bluetooth, or USB), printer types (color or monochrome, all-in-one or printer only), and other factors will lead to different sets of instructions.
Some may suggest that you simply read the printer's instructions. And we think you should take that advice. However, the reality is that documentation is usually a 100-page jargon-filled volume that takes forever to decipher. Modern printers that are AirPrint (Apple's printing function) compatible are, on the other hand, straightforward to set up without the need to install any software or printer drivers. If you want to save time and effort when connecting your printer to a Mac, read this post.
Adding a Printer Via WiFi
Make use of wireless networking for your printer setup if possible. Getting your printer linked to your wireless network is the most challenging part of setting up a wireless printer on a Mac. At times, all it takes is the press of two buttons. Occasionally it can be easy, and at other times, it can take more work, so it all depends on your printer and router. Here is the simple solution:
- If your printer has a "Wi-Fi" button, press it.
- To use a WPS feature on your router, press the button.
- If that does not work, check the manuals for your printer and router.
Get the printer on the same wireless network as your Mac. Assuming that the two devices are linked, the Mac printer can be set up as follows:
- Launch Printing Preferences & Scanners by clicking the Apple menu.
- To add a printer, select the + button.
- To choose a printer, pick one from the drop-down list.
- If your printer supports AirPrint, which is shown by AirPrint appearing next to Use, you can add it by clicking Add.
- Select your printer, click Add, and then click Download to get the printer drivers from Apple's servers if it does not support AirPrint. Drivers ought to be downloaded automatically.
Adding a Printer Via USB
The practice of using a USB cable to link a printer to a Mac may seem ancient and relict of a bygone era. Adding a wireless printer to a Mac is a simple process, but it can be even simpler with a USB. In most cases, when you plug a printer into your Mac via USB, the machine will immediately detect it, and all you will need to do is follow the on-screen prompts to set it up. Nonetheless, you may encounter an issue occasionally. Refer to the manual if it happens.